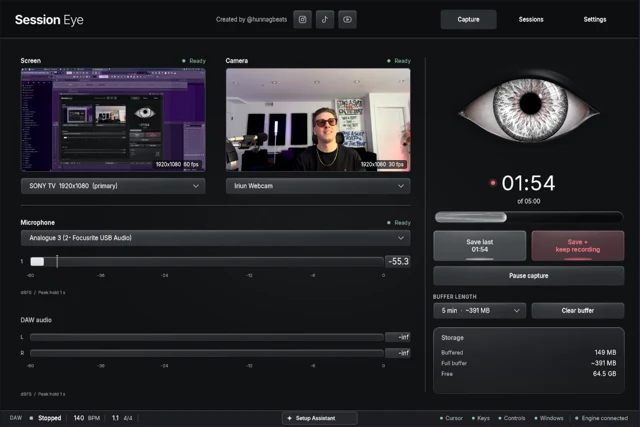
The useful test is simple: can you mute your spoken explanation without muting the beat? To make that possible, record FL Studio and narration as separate sources and keep separate tracks in the file. Two moving meters alone do not guarantee that.
Give each track a job
| Track | FL Studio music | Narration mic | Use it for |
|---|---|---|---|
| 1 | Yes | Yes | Normal playback and sharing a quick test |
| 2 | Yes | No | Music balance in the edit |
| 3 | No | Yes | Cutting speech and processing the voice |
This is a recording plan, not three copies you should play at once. In the editor, use either the combined mix or the isolated music and voice. Playing all three doubles the sound.
Set it up in OBS
- Get one clean FL audio source working with the screen-and-audio recipe.
- Add Audio Input Capture for the narration mic. Name it something you recognize, such as “Desk mic.”
- If that same device is already in global Mic/Aux, disable one of the duplicates.
- Open Advanced Audio Properties. Assign the two sources using the table above.
- In Settings → Output, use Advanced output mode and enable tracks 1, 2 and 3 in the Recording tab. Choose a recording format that supports multiple tracks, such as MKV.
- Record the test below and open it in your intended editor.
The OBS multitrack guide documents the two places you need to configure: source assignments and recording output. A player may open only one of the saved tracks.
A twenty-second separation test
First five seconds: stop FL and talk. The music-only track should be quiet.
Next five seconds: stay silent and play the beat. The voice-only track should contain room sound at most, not a second digital copy of the beat. Wear headphones to keep the speakers out of the mic.
Last ten seconds: talk over the beat, then mute the voice track in the editor. Your explanation should disappear while the music continues.
If your voice remains, check FL's Mixer and the interface's loopback mix. Narration sent through Master is already part of the music source. Turn it out of that path before filming again; lowering a separate mic fader afterward cannot remove the embedded copy.
When the mic belongs in FL instead
A vocal take is different from commentary. If you are recording a singer with FL effects, put the mic on the intended Mixer insert and record it as part of the project. Image-Line's audio recording instructions cover input selection and recording into FL.
For a lesson about that vocal, you may need both the processed performance and a separate explanation. Name the sources by purpose so the “vocal in the song” and “voice explaining the song” do not become the same track by accident.
A USB microphone can be captured directly in OBS for narration; it does not have to become an input on your interface's ASIO driver. For FL-side USB input options, use Image-Line's USB mic guidance.
Shape the voice after the take
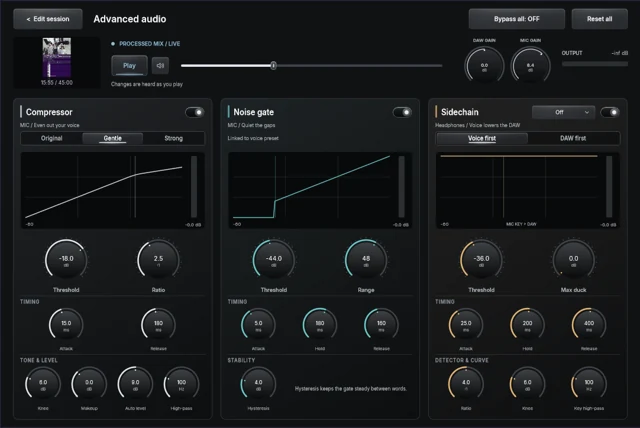
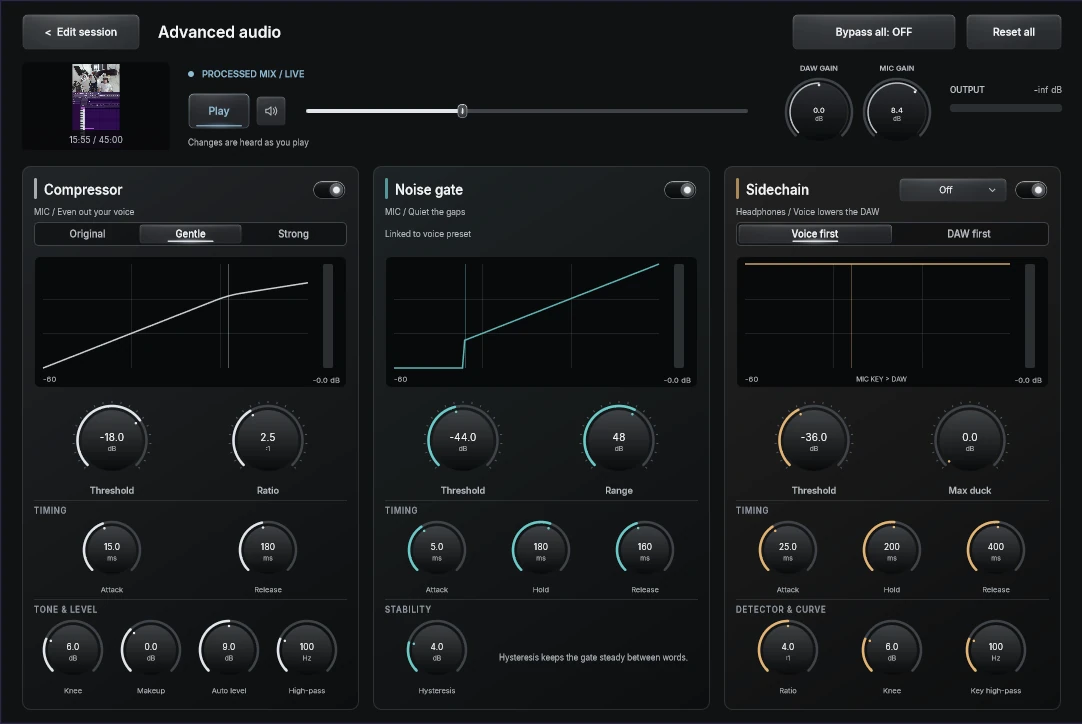
Session Eye's Advanced audio view keeps DAW and mic gain beside each other. Start with that balance before adding compression, a gate or sidechain ducking. A strong raw voice at a sensible level usually needs less processing than a distant, noisy recording.
Listen through a full sentence and the musical payoff. Ducking should help the explanation land, then let the beat return. A gate will not remove speaker bleed while you are talking. Save a clean version before pushing the effects so you can compare the two without rebuilding the edit.
Sources & details
Reviewed . The OBS track plan follows its multitrack recording guide. Image-Line references distinguish narration outside FL from vocals recorded into the project.