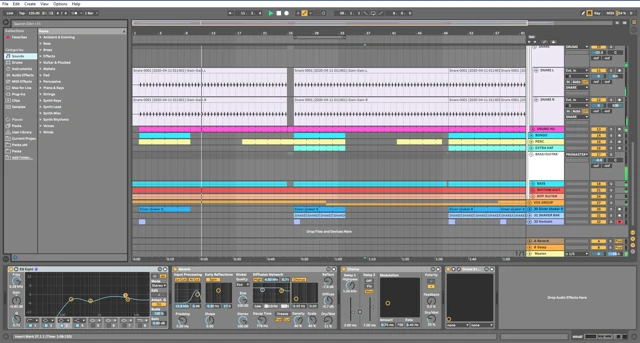
A narration track should let you cut “let me try that again” without cutting the music underneath. In Live, that starts with deciding whether the mic belongs in the song or beside it. Keep spoken commentary out of the main music mix when you want to edit it independently.
Two sessions that look similar but route differently
You're explaining a beat. Let Live supply the music and let the screen recorder capture your narration mic directly. This is usually the simplest way to keep the two apart.
You're recording a vocal performance. Put the mic on the intended Live audio track, with the input and effects you need. That vocal belongs in the song. If you also want commentary about the take, record that explanation separately.
Ableton's audio recording instructions cover choosing and arming the performance input. Those steps are for recording into the Set; an external narration source does not need an armed Live track.
Make a three-part rehearsal
Record a single short video with three clearly different sections:
- Speech only. Stop Live and introduce the project.
- Music only. Stay quiet while a loop plays.
- Speech over music. Explain one change as you make it.
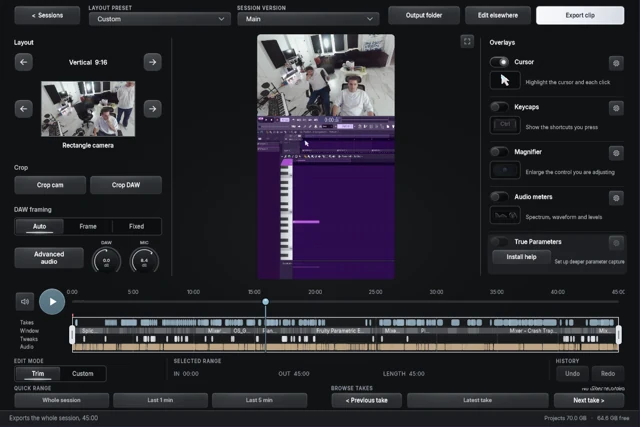
In the editor, mute the narration during the third section. If you still hear your explanation, it is also inside the music route. Check a mic track feeding Main/Master and any microphone included in the interface loopback mix.
Next, solo the mic. A little room sound is normal; a full-strength copy of the beat suggests a routing duplicate or loud speakers bleeding into the microphone. Headphones make this test much easier to interpret.
Preserve the sources in the recording
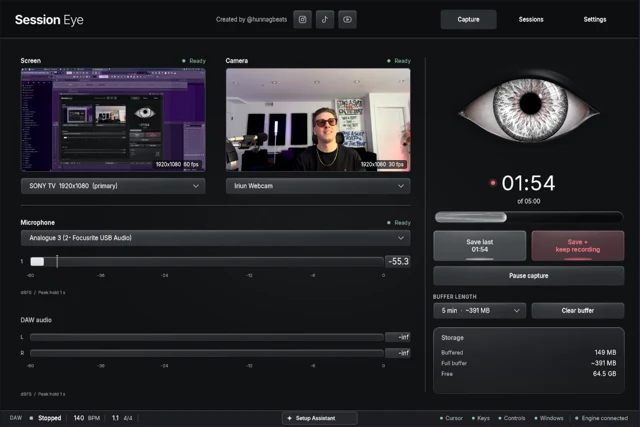
Get Live's music working first with the screen recording setup. Add the specific microphone input in the recorder. Avoid capturing it through both a scene source and a global Mic/Aux source.
For an OBS file, put a combined listening mix on track 1 and isolated music and voice on separate tracks. Follow the track assignment table; its OBS settings work the same way with Live as the music source.
When editing, use the isolated pair or the combined mix. Playing both at once doubles their contents. Test your editor's import before filming a long lesson; separate meters at capture time are only useful if the saved tracks survive the workflow.
If a mono mic appears on just one side of a stereo input pair, map the mic appropriately. Keep the music stereo. For a USB mic and separate interface, try independent recorder sources before combining devices; the Mac mic guide explains when an Aggregate Device has a purpose.
Make the explanation easy to hear
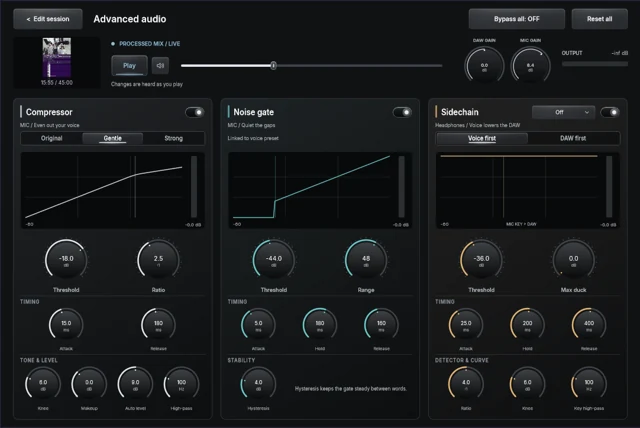
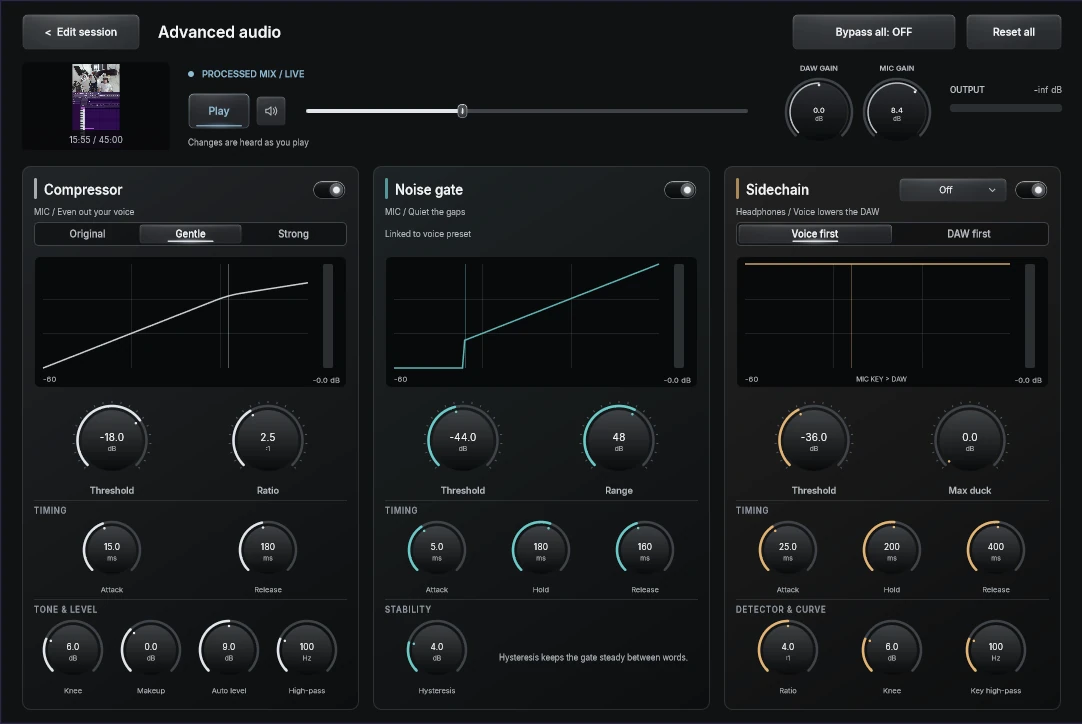
In Session Eye's audio editor, adjust DAW and mic gain independently, then decide whether the narration needs compression, gating or ducking. Listen to a whole sentence rather than tuning a gate around one word.
Let the music come forward again for the result. If the point is a subtle reverb tail, keep narration away from that tail rather than ducking it out of the demonstration. For performance vocals, judge the full song mix instead of treating the singer as a tutorial voiceover.
Keep a version without commentary if the same session may become a performance clip. That is the practical payoff of separation: one capture can support two different stories without asking you to repeat the take.
Sources & details
Reviewed . Ableton’s recording guide covers performance input inside Live. The linked OBS track plan covers separate narration in a screen recording.