Start with a small Live Set and record one loop, one track mute and one device change. If all three look and sound right in the saved video, you have a useful recording setup. Here is how to get there without changing a good production configuration unnecessarily.
Find the output that contains your music
Open Live's Settings or Preferences, then Audio. Note the audio device and the output channels you use. In the mixer, check the destination of the track you are demonstrating and the main output pair.
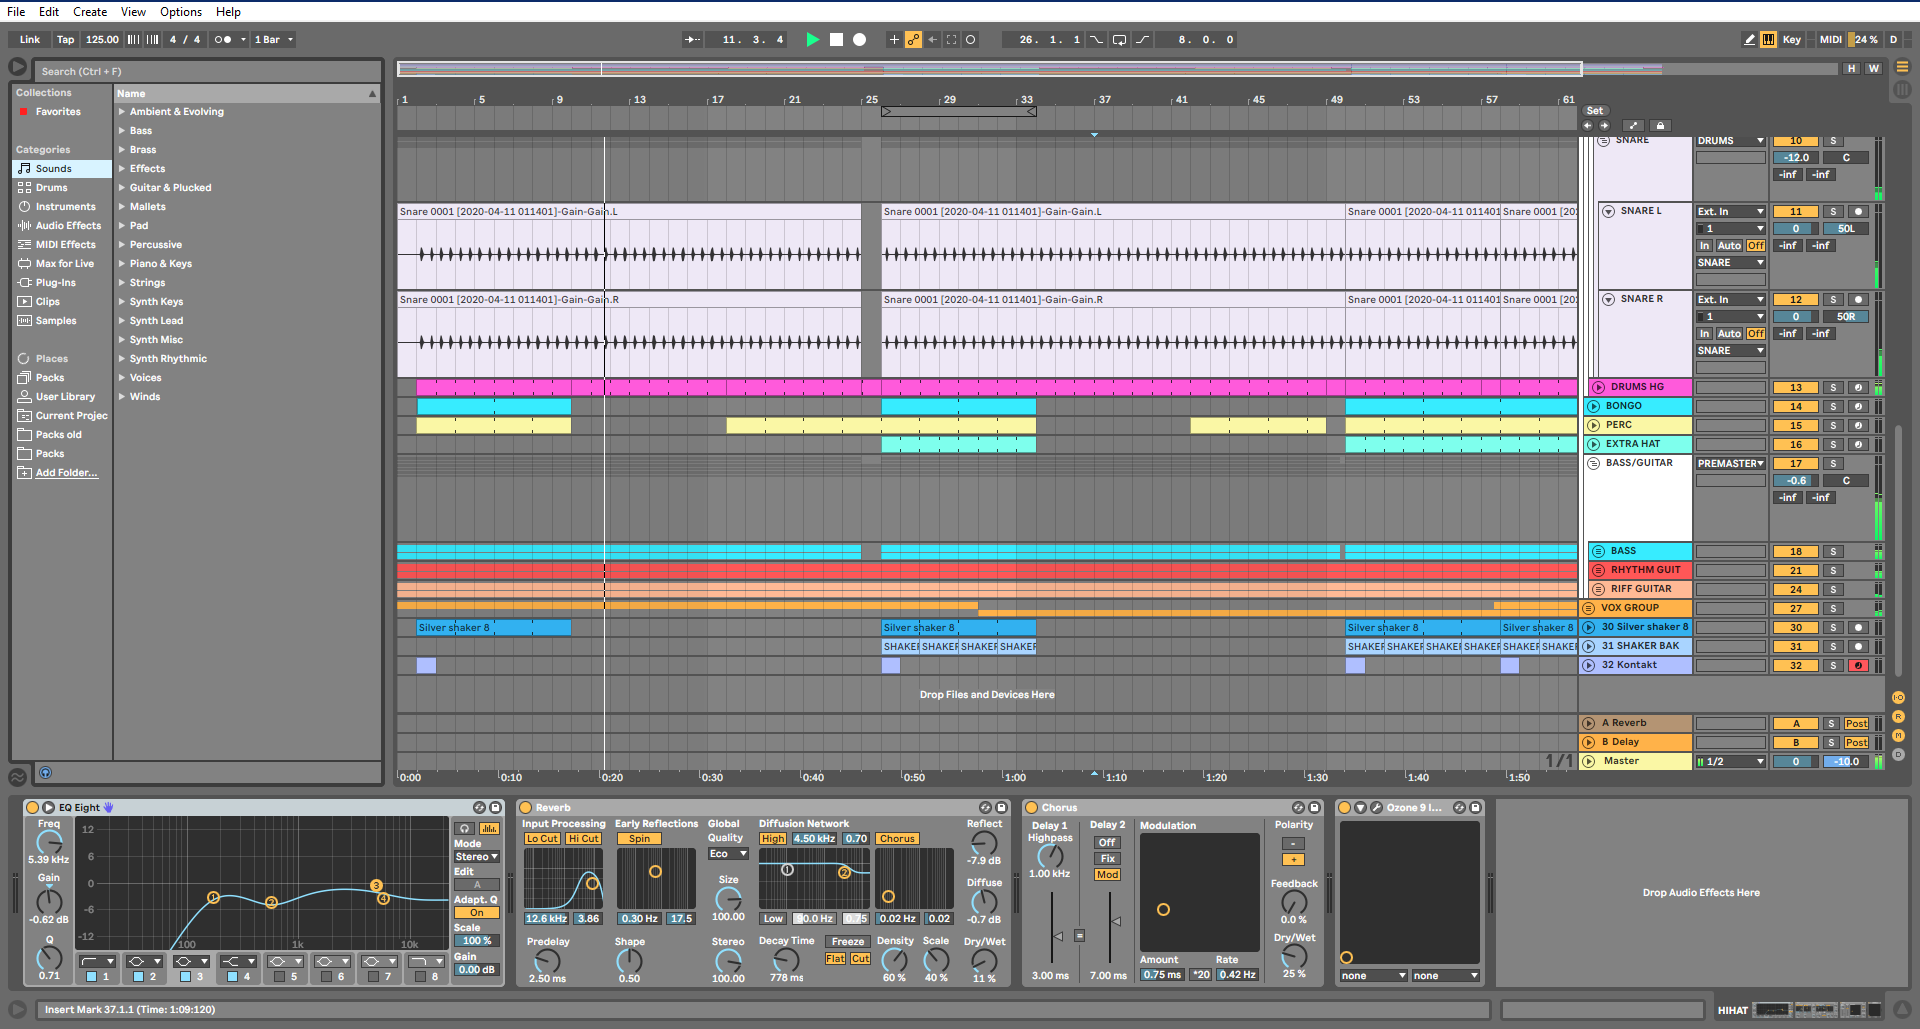
The supplied Arrangement screenshot uses the label Master; newer Live documentation uses Main. Both refer here to the final mix bus. A track sent straight to an external output can bypass it. Cue Out can also feed your headphones separately, which is why hearing a sound is not enough to locate it in the recording.
Play a basic instrument or audio clip through the main mix first. Leave external instruments and elaborate monitoring for the second test. Ableton's I/O reference explains where to inspect those assignments.
Capture the sound, then the picture
Mac
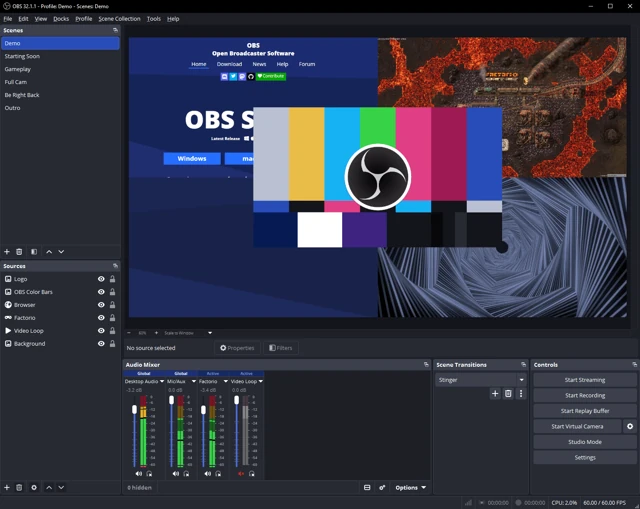
In OBS on a supported Mac, add native application audio for Live and a macOS Screen Capture source for the picture. Choose Live in each source where required. If the picture source already includes audio, keep one copy of the music, not two. The Mac step-by-step guide shows the settings and permission checks.
Windows with an interface ASIO driver
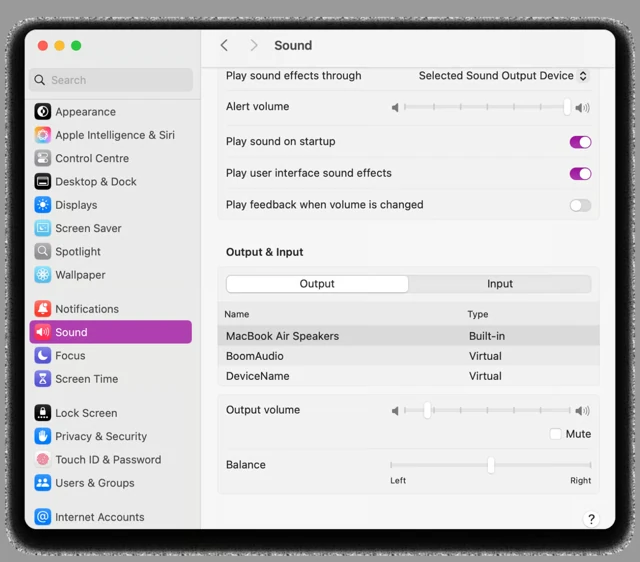
Keep your usual driver if it is stable. In the interface mixer, send Live's main playback pair to a supported loopback input, then select that input in OBS. A mic input with the same interface name is a different signal.
If your interface does not offer the needed route, use the ASIO decision guide to choose a bridge or a temporary shared-audio setup. Do not spend the whole session swapping devices without testing what changed.
The screen
Add a window source for Live. Switch between Session and Arrangement, open a plugin editor, then move that editor to where you normally use it. Watch the OBS preview throughout. If a separate plugin window disappears, try display capture on a clean monitor.
Keep the controls you explain readable. Recording a huge desktop and cropping it aggressively afterward can leave very little detail for the final video.
Record this short rehearsal
- Play your loop for four bars.
- Mute one track, leave it muted for a bar, then bring it back.
- Move an obvious device control while the loop plays.
- Stop and say a short sentence if you are using a narration mic.
- Save the video and watch it outside the recorder.
You should hear the mute and device change at the same moments you see them. If the mic works but the loop is missing, leave the mic alone and check Live's audio path into OBS.
Once the simple Set works, repeat with the real one. Include hardware returns, cueing, dense plugin sections and any tracks routed directly to the interface. A quick single-track test cannot tell you what those extra paths contain.
When the session comes before the video
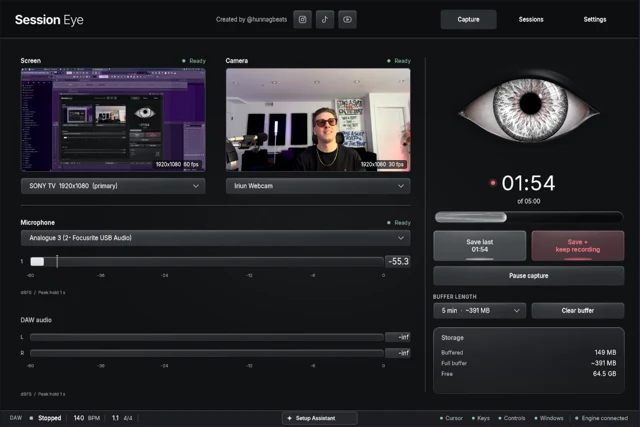
If you want to make music without deciding when a tutorial starts, let Session Eye capture the DAW, screen and optional camera/mic while you work. Save a useful moment from rolling history, then choose clips and framing in the editor.
The editor demo below shows a captured FL Studio screen as a layout example. The same screen-and-camera editing decision applies to a Live recording; it is not a screenshot of Live integration.
For a planned broadcast, OBS's live scenes may be exactly what you need. For a finished-song walkthrough, you can also export the mix and align it with the video. Choose the approach that leaves you with the material you need for the edit, rather than the most complicated source list.
Sources & details
Reviewed . Main/Master and Cue behavior checked against the Live 12 manual. The supplied Arrangement screenshot uses the older Master label; the editor demo shows FL as a framing example.